8:28 a.m. Your line is growing – a travel size, a family pack, maybe a pouch for e commerce. Exciting, yes. Risky, also yes. Families break when each new format gets designed from scratch. Shoppers stop recognizing you at a glance, and operations inherit a pile of one offs. We can expand without noise.
What’s Really Going On
On shelf, recognition comes from a few stable cues – the brand block, the product type, and the variant color logic. When sizes and formats drift, those anchors move. Copy swells, badges multiply, dielines diverge, and your 3 second read becomes 8.
The Practical Fix (Production Savvy)
Freeze the anchors. Decide what never moves across the family – brand mark position, product type size, and one brand color band that ties SKUs together. Build variant colors from a controlled palette so “+50%” size does not become a new color altogether. If you need a refresher on architecture, this helps: SKU architecture for families.
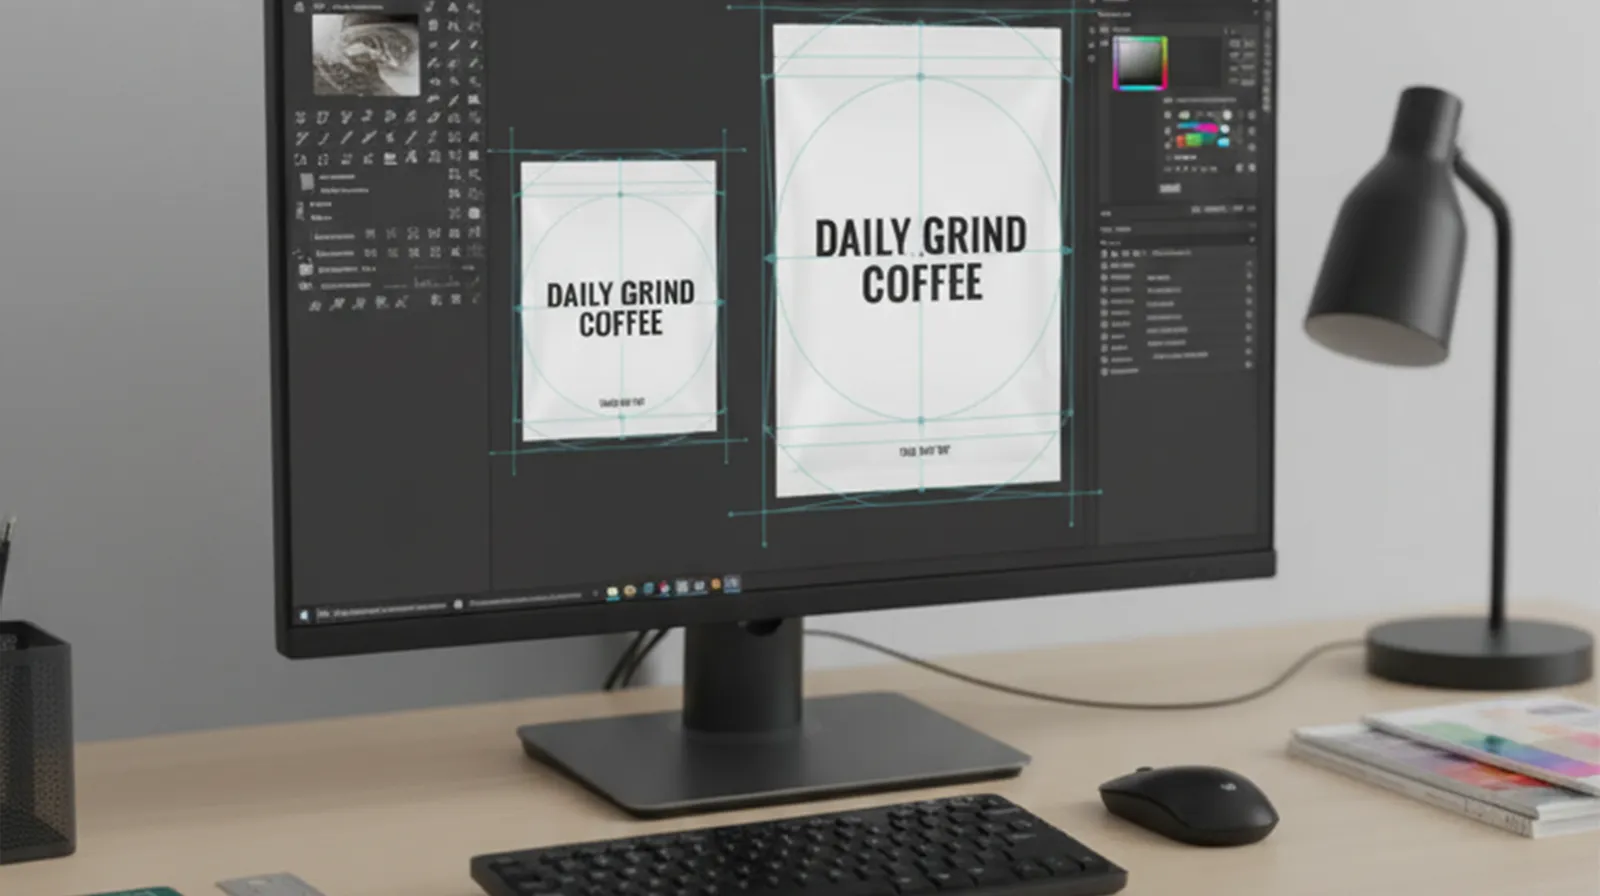
Use a layout grid that scales. Define a proportional grid so the 100 g face and the 1 kg face feel related. Keep margin ratios and headline sizes linked to the face width, not a fixed point size.
Plan dieline families. Share closure styles and panel logic where possible – same tuck orientation, same glue flap, same barcode zone. It lowers make ready and avoids re learning on press.
Proof at distance – then in hand. Print facsimiles at actual size and do a 3 meter test for each format. Then handle them – can a hand cover the brand block on the smallest item, or is it safe? For pouches and films, mark a WHITE_UNDERPRINT for true color where needed and keep windows at 0% white.
Hold promo and badges in a safe lane. Create a fixed badge area that does not collide with the read. Keep claim copy short – verbs first – and retire badges after the campaign to prevent badge creep.
Lock a clean hand off. Export a 3 page PDF to stop prepress improvisation – Page 1 art plus dielines as spot strokes set to Overprint, Page 2 art only for RIP, Page 3 diecut only for cut or crease or perf or glue. This keeps vendors aligned when formats multiply.
Sanity check the shelf. Line up the new sizes beside the current ones and do a five second scan. If you can call brand and product type in one breath, it is working. If not, reduce copy or increase the product type weight before adding decoration. For a distance first mindset, see Shelf Power.
Short Term Wins (This Week)
- Clear rules stop one off decisions on every new size.
- Faster vendor briefs – same anchors, same badge zone, same barcode panel.
- Cleaner quotes – fewer dielines and shared components.
Long Term Wins (This Quarter or Year)
- A family that reads together from 3 meters – stronger recognition without shouting.
- Lower prepress time and fewer reprints as formats grow.
- Quicker range extensions – new SKUs slot into the grid instead of starting from zero.
Final Thought
Range growth should make the brand feel bigger, not busier. Freeze the anchors, scale with a grid, and keep promos in a safe lane. Recognition stays high, costs stay calm, and your team moves faster.
Want a quick expansion audit – 30 minutes to map anchors, grid, and badge zones before you brief the next size.