Treating your packaging structure as a flexible draft during the design phase is a budget-killer. Learn why the ‘Dieline Lockpoint’ is the single most critical milestone in your workflow, preventing expensive tooling changes, artwork cascades, and prepress delays. A 1mm shift costs more than you think.
“Can we just make the box 2mm taller? The product fits a little tight.”
It sounds like a reasonable request. You are in the middle of the design phase, the artwork looks great on screen, and you want the physical fit to be perfect. To the marketing team, this is a minor tweak. To the production team, however, this request is a grenade thrown into the workflow. That 2mm shift does not just change the height of the box; it breaks the contract you made with the machine.
In many creative projects, flexibility is an asset. In packaging production, flexibility after a certain point is a liability. The most common cause of blown budgets and missed deadlines is not bad design, but structural indecision . When the canvas (the dieline) keeps moving, the painting (the artwork) can never be finished. To protect your budget, you need to establish a hard operational milestone: The Dieline Lockpoint.
The Hidden Math of a Structural Change
Why is a structural tweak so expensive? It comes down to the difference between pixels and atoms. On a screen, resizing a rectangle is free. In the physical world of print production, the dieline is a blueprint for expensive, custom-manufactured steel tooling.
When you change a dieline after the design process has begun, you trigger costs in three distinct areas. Understanding these ‘invisible’ costs is key to making better decisions.
1. The Tooling and Plate Cost
If you have already approved a structure and the printer has ordered the cutting die (the physical wood and steel tool that cuts the box), a change requires scrapping that tool and buying a new one. Depending on the complexity of the packaging, a cutting die can cost anywhere from $300 to $3,000. Furthermore, if you are printing using Flexography, the printing plates are distorted specifically to wrap around the print cylinder based on the repeat length. A change in dimensions can force a new set of plates – another significant hard cost.
2. The Cascade Effect on Artwork
This is where the “design hours” burn rate accelerates. A dieline is not just an outline; it dictates the internal logic of the file. If you widen a panel by 2mm, you don’t just move a line.
- Bleeds Break: The artwork that extends past the cut line (the bleed) must be adjusted to ensure no white paper shows.
- Safe Zones Shift: Legal text and logos that were perfectly centered are now off-center or, worse, sitting in a fold line.
- Trapping Misaligns: The microscopic overlap between ink colors (trapping) is calculated based on the exact position of elements. Moving them requires rechecking every junction.
For a deeper dive into why these technical specs matter, read our guide on Dielines & Bleed. The takeaway is simple: a “small” structural change forces the designer to dismantle and rebuild the entire file, turning a 15-minute task into a 4-hour reconstruction.
3. The Prepress Reset
Once the file leaves the designer, it goes to the printer’s prepress department. They spend hours setting up the file for their specific machine. If you send a “new version” with a structural change, they cannot just update the old file. They often have to start from zero, reapplying their machine curves and color profiles. This is why printers charge “file correction” fees or “new setup” fees for changes that seem minor to the client.
The Solution: The Dieline Lockpoint Protocol
The operational fix is to separate Structural Design from Graphic Design . They are two different phases of the project, and they should barely overlap.
Phase 1: Involve the Printer Early
Never start designing on a dieline that your designer “sketched up” in Illustrator. That is a drawing, not a manufacturing file. Before a single pixel of artwork is laid down, you must get the official CAD (Computer – Aided Design) file from your printer or structural engineer.
Send the physical product to the printer. Have them create a white dummy (an unprinted prototype). Test this dummy with your product. Shake it. Ship it. Open it. Once you are happy with the physical box, ask the printer for the final CAD dieline file (usually a DXF or EPS). This file is the source of truth.
Phase 2: The sign-off Ritual
This is the Lockpoint. You, as the stakeholder, sign off on the structure. You confirm: “This is the exact size and shape we will produce.” From this moment forward, the structure is frozen. The designer is instructed to treat the dieline layer as a locked, immutable object. Any request to change the structure after this point must be treated as a Change Order , with the understanding that it will incur additional design fees and potential tooling costs.
By formalizing this step, you stop the “drift” of endless small tweaks. It forces the team to make the physical decisions early, so the creative phase can focus purely on impact and communication.
Phase 3: Building a Stable Design System
Once the dieline is locked, your designer can build a robust template. They can set up “SKU frames” where the dieline, legal panels, and core branding are locked, and only the variable data (flavors, colors) changes. This stability is what allows you to scale. If the dieline is constantly shifting, you can never build a reliable system.
If you are managing multiple variants, this stability is even more critical. A stable base structure allows you to use Reprint-Ready Templates to launch new flavors in record time, because you aren’t reinventing the box every time – you are just painting a new picture on a known canvas.
The 3-Page PDF Handoff
Even with a locked dieline, communication errors can happen. To ensure the printer respects your structure and your artwork, we recommend the 3-page PDF handoff protocol. This makes your intent unambiguous:
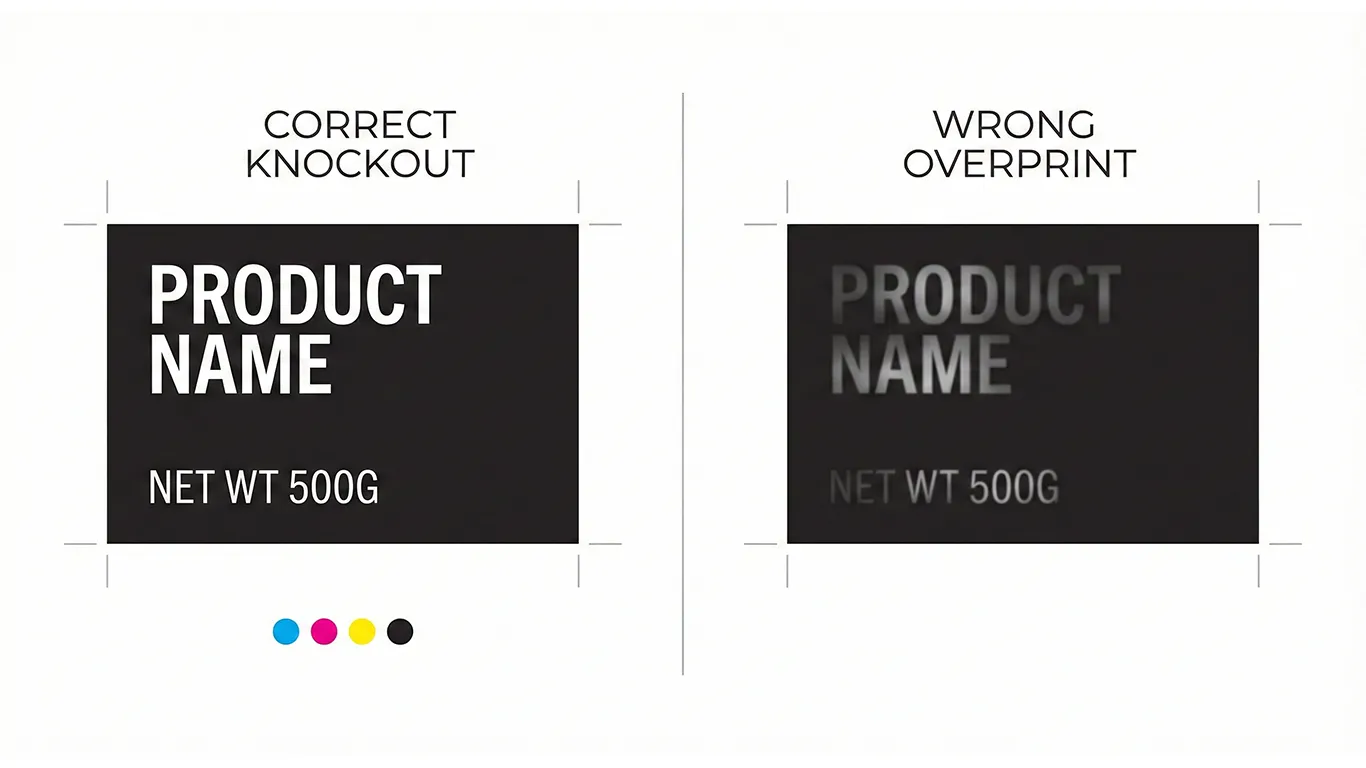
- Page 1: The Visual Proof. Art + Dielines (set to a Spot Color and Overprint). This shows exactly how the art sits on the structure.
- Page 2: The Print File. Art-only. No dielines. This is what the RIP (raster image processor) reads for printing ink.
- Page 3: The Cut File. Dieline-only. This is the instruction for the cutting die.
For more details on managing these technical layers and preventing errors like dielines printing on the final box, see our article on File Hygiene for Packaging.
Strategic Wins: Why Rigidity Saves Money
Implementing a Dieline Lockpoint might feel rigid, but that rigidity is the skeleton that supports a healthy budget. It eliminates the chaos of rework.
- Financial Benefit: You avoid paying for duplicate tooling ($500+) and extra design hours ($150/hr+) for avoidable rework.
- Time Benefit: Your time to market accelerates because the prepress phase becomes a formality, not a troubleshooting session.
- Quality Benefit: When designers aren’t rushing to resize artwork at the last minute, they make fewer errors. No text gets accidentally cropped, and no bleeds are missed.
Ethical note: production guidance, not legal advice. Confirm local regulations and retailer requirements.
Final Thought
In the triangle of Client, Designer, and Printer, the Dieline Lockpoint is the agreement that keeps the peace. It respects the physics of manufacturing and the value of design time. By freezing your structure before you start your artwork, you are not limiting your creativity; you are protecting your investment.
If you are tired of production surprises, book a workflow audit with us, we will help you establish a Dieline Lockpoint and build a template system that scales.